
Top 8 tips for shooting underwater 360/VR videos and photos
Written by Axel Busch on 8 April 2021
Whether you are just getting started with underwater content creation, or a seasoned underwater videographer, this article will help you we’ve compiled a list to help you create more compelling and immersive VR experiences.
In general, the same recommendations apply for shooting regular underwater video and 360/VR. However, there are a few settings and practices that are specific to underwater 360/VR, and can trip up even experienced underwater videographers. Make sure to follow our tips to get the most out of every dive.
Get close.
How close can you get? 1 meter/3 feet is ideal for smaller subjects.
Shooting 360 is wide angle at the extreme. Many cameras have a field of view of 200 degrees or more per lens, and subjects appear small very quickly when they are a little further away from the camera. At the same time, viewers will only see a small section of the whole sphere, typically no more than 90 degrees. That means we should be close, but far enough away so that the subject can still be viewed comfortably.
As a rule of thumb, we recommend a distance of 1m/3ft for smaller animals and plants, and 2m/7ft for larger animals or structures.
Colour and detail gets lost quickly with distance. But if the subject is closer than 1 meter / 3 feet it’s often impossible to stitch accurately and the video can be uncomfortable to watch, particularly in 3D and with VR goggles.
Set a fixed white balance of 6500K.
In automatic white balance mode, 360 cameras use exposures from all lenses to adjust white balance continuously. Because they capture such a large view this can lead to flickering as light plays on the water surface above. For some cameras, it can also lead to uneven white balance across lenses.
Setting the white balance to a fixed value avoids these problems. A higher color temperature value makes the water look blue, but too high and the image can acquire a purple tint. In addition, most LED video lights are set to a color temperature of 5600K or 6500K.
We recommend fixing the white balance to 6500K. This creates a more professional looking video because it This avoids flickering, purple tinting of the water above, and works well with both daylight as well as video lights.
Set a maximum ISO limit of 400 or less.
The recommendation for normal underwater video is to always use manual exposure. This is difficult to achieve for 360 videos, as the correct exposure for the whole sphere is incredibly difficult to judge underwater. Manual exposure is also unsuitable when moving between lighter and darker areas during a recording, such as when filming near arches, overhangs, walls, caves, wrecks, etc.
As a result, using Manual Exposure mode often results in recordings that are at least partially over- or underexposed. On the other hand, recording in Automatic Exposure mode often results in parts of the recording showing too much visual noise, when the camera increases ISO sensitivity to resolve detail at greater depths or darker spots.
One very convenient and successful way to solve this problem is to use Automatic Exposure mode paired with a maximum ISO limit. Insta360 calls this ISO cap.
This lets the camera choose the correct exposure as the light changes around it, using its smart algorithms that consider the whole sphere, while at the same time eliminating the risk of introducing too much visual noise. We consider ISO limiting an essential feature for a underwater 360 camera.
Consider the background.
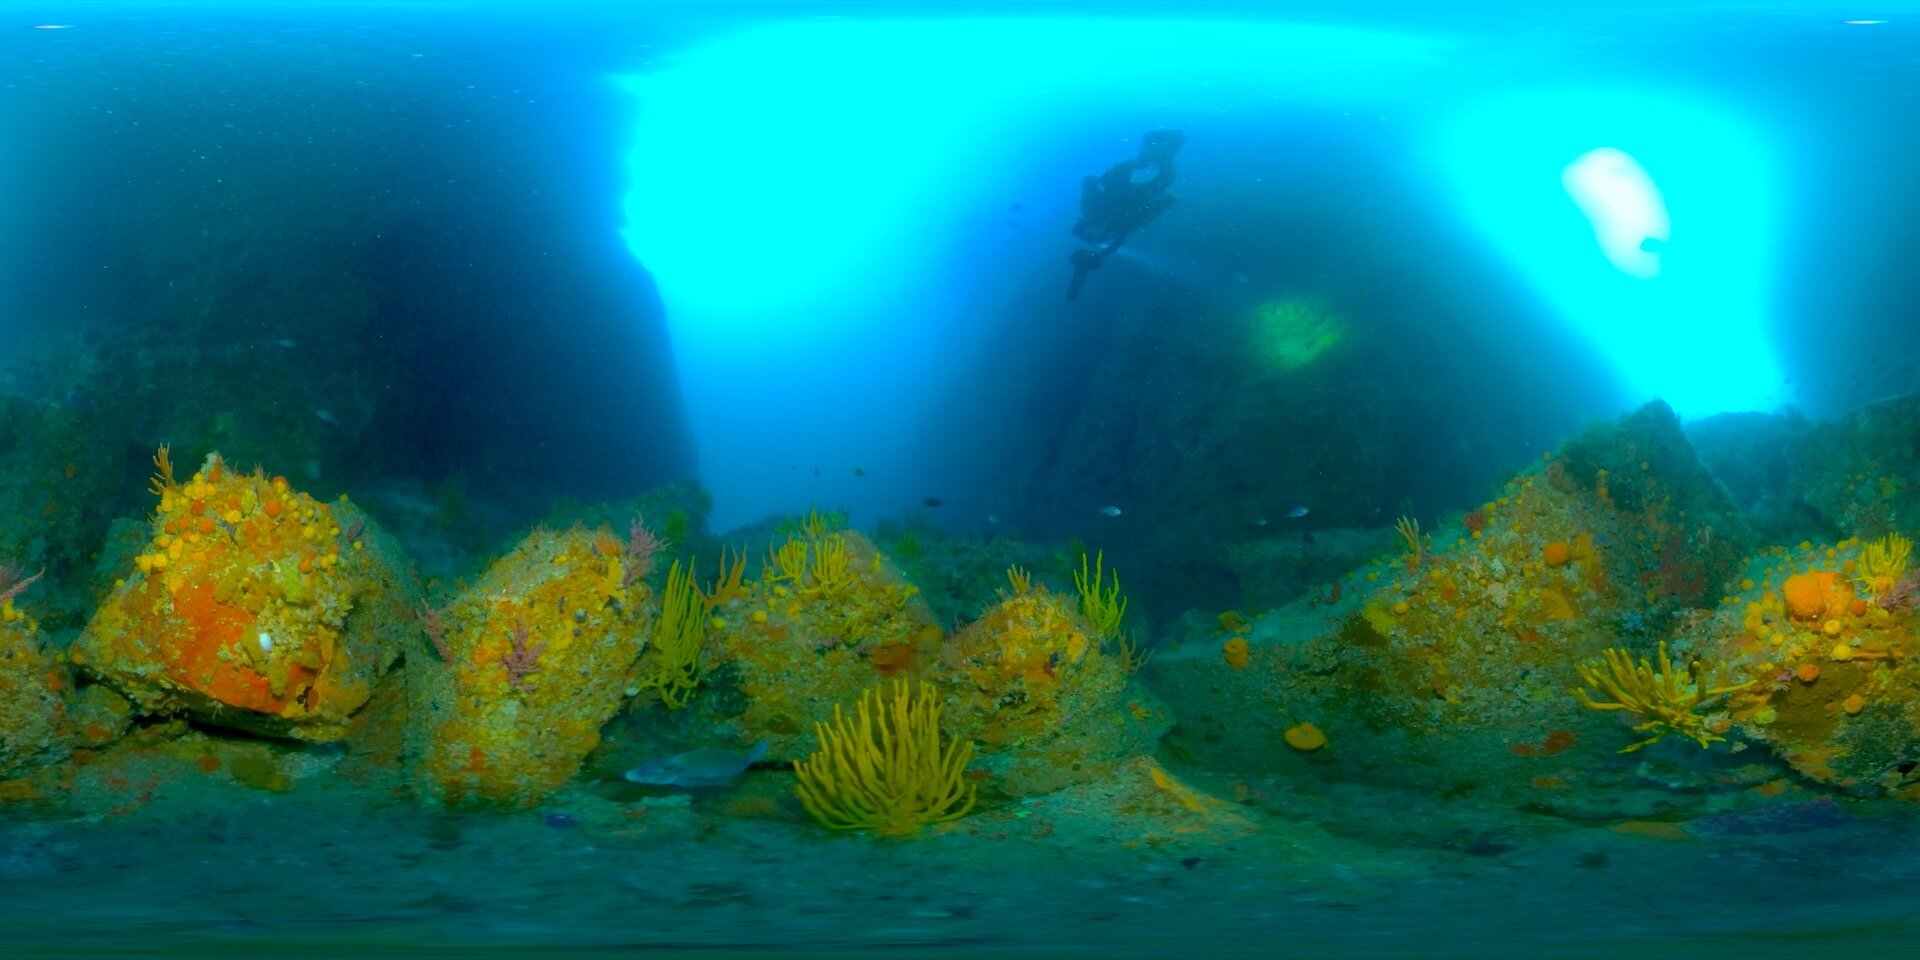
The best camera position when filming underwater is often lower – this helps separate foreground from background even without a main subject.
For some shots, especially when shooting animal behaviour, there is a clear distinction between the main subject and the background. Then it’s best to position the camera in such a way that the subject is immediately in front of the camera, with clear water behind it to make the subject stand out. Ideally framed by its habitat left and right for context, if you can pull it off!
At other times, you may want to show a larger area. Then everything in the first 1-2m/3-7ft is now the subject/foreground. It is still important to create a clear distinction between foreground and background for the viewer so that they instinctively know what to look at. Often slightly altering the height of the camera, or moving it to a slightly different spot can make that distinction clear.
Other important visual cues to consider are lighting and color. Elements that are brighter and more colorful naturally draw the eye, the rest becomes background.
Use a static camera or simple, linear movements.
The general rule of thumb for shooting underwater video is to avoid camera shake, move slowly, and hold a shot for at least 10 seconds. That is the same for 360/VR, however a longer duration of 20 seconds is often better to give the viewer a chance to look around. And some movements that are fine for regular video have to be avoided altogether.
Most people can handle a slow linear forward or vertical movement just fine in VR. Very slow, wide, turns are usually ok too. But sideways pans, narrow turns, and especially rolls and jaws can make even the most seasoned VR gamer motion sick. Avoid these and stay with linear movements as much as possible for a smoother VR experience.
One of the beauties of 360 is that it captures the whole sphere. If really necessary, you can always re-orient the video during editing to bring a particular subject to the front.
Use the Frog Kick.
One problem specific to shooting underwater video is camera shake introduced by finning to move forward. This happens often when using the Flutter Kick, the standard finning technique taught to recreational divers. The problem with the Flutter Kick is that the whole leg needs to move up and down, and this movement is often transferred from hip via shoulder to the arm holding the camera. The result is a slight camera roll that can be very unpleasant to watch in VR.
A more suitable finning technique is the Frog Kick, generally used by more advanced or technical divers. Hip and shoulders do not move during a Frog Kick, and as a result it is easier to hold the camera steady. The Frog Kick also avoids kicking up silt or sand, which can disturb marine life and immediately ruin the shot at this location for a long time.
While not necessary, we highly recommend taking a technical dive course, such as offered by PADI, TDI/SDI, and other agencies. You will learn skills that greatly improve your buoyancy and awareness underwater, and your ability to perform tasks comfortably and efficiently. Audience engagemetn with the VR experience, and your enjoyment of recording it, will be greatly enhanced.
Use domed video lights.
Domed video lights cover a larger area and have softer edges than standard video lights with flat ports.
Underwater video lights come with flat and domed glass ports. Flat glass ports have a maximum opening angle of 90 degrees underwater, and a distinctive light cone with sharp edges. Domed lights have a much wider angle of 120 degrees or more, and the light falls of more gradually near the edge. That makes it easier to light a larger area, and the illumination is more diffuse and pleasing.
Unfortunately, that also means that the available brightness is spread over a larger area. If possible you should get stronger, or more, lights.
While filing with the Insta360 Pro2 in the Mantis-Sub housing, we discovered that we needed at least 6x domed 4000 Lumen lights, or 4x domed 10000 Lumen lights to adequately light up a scene.
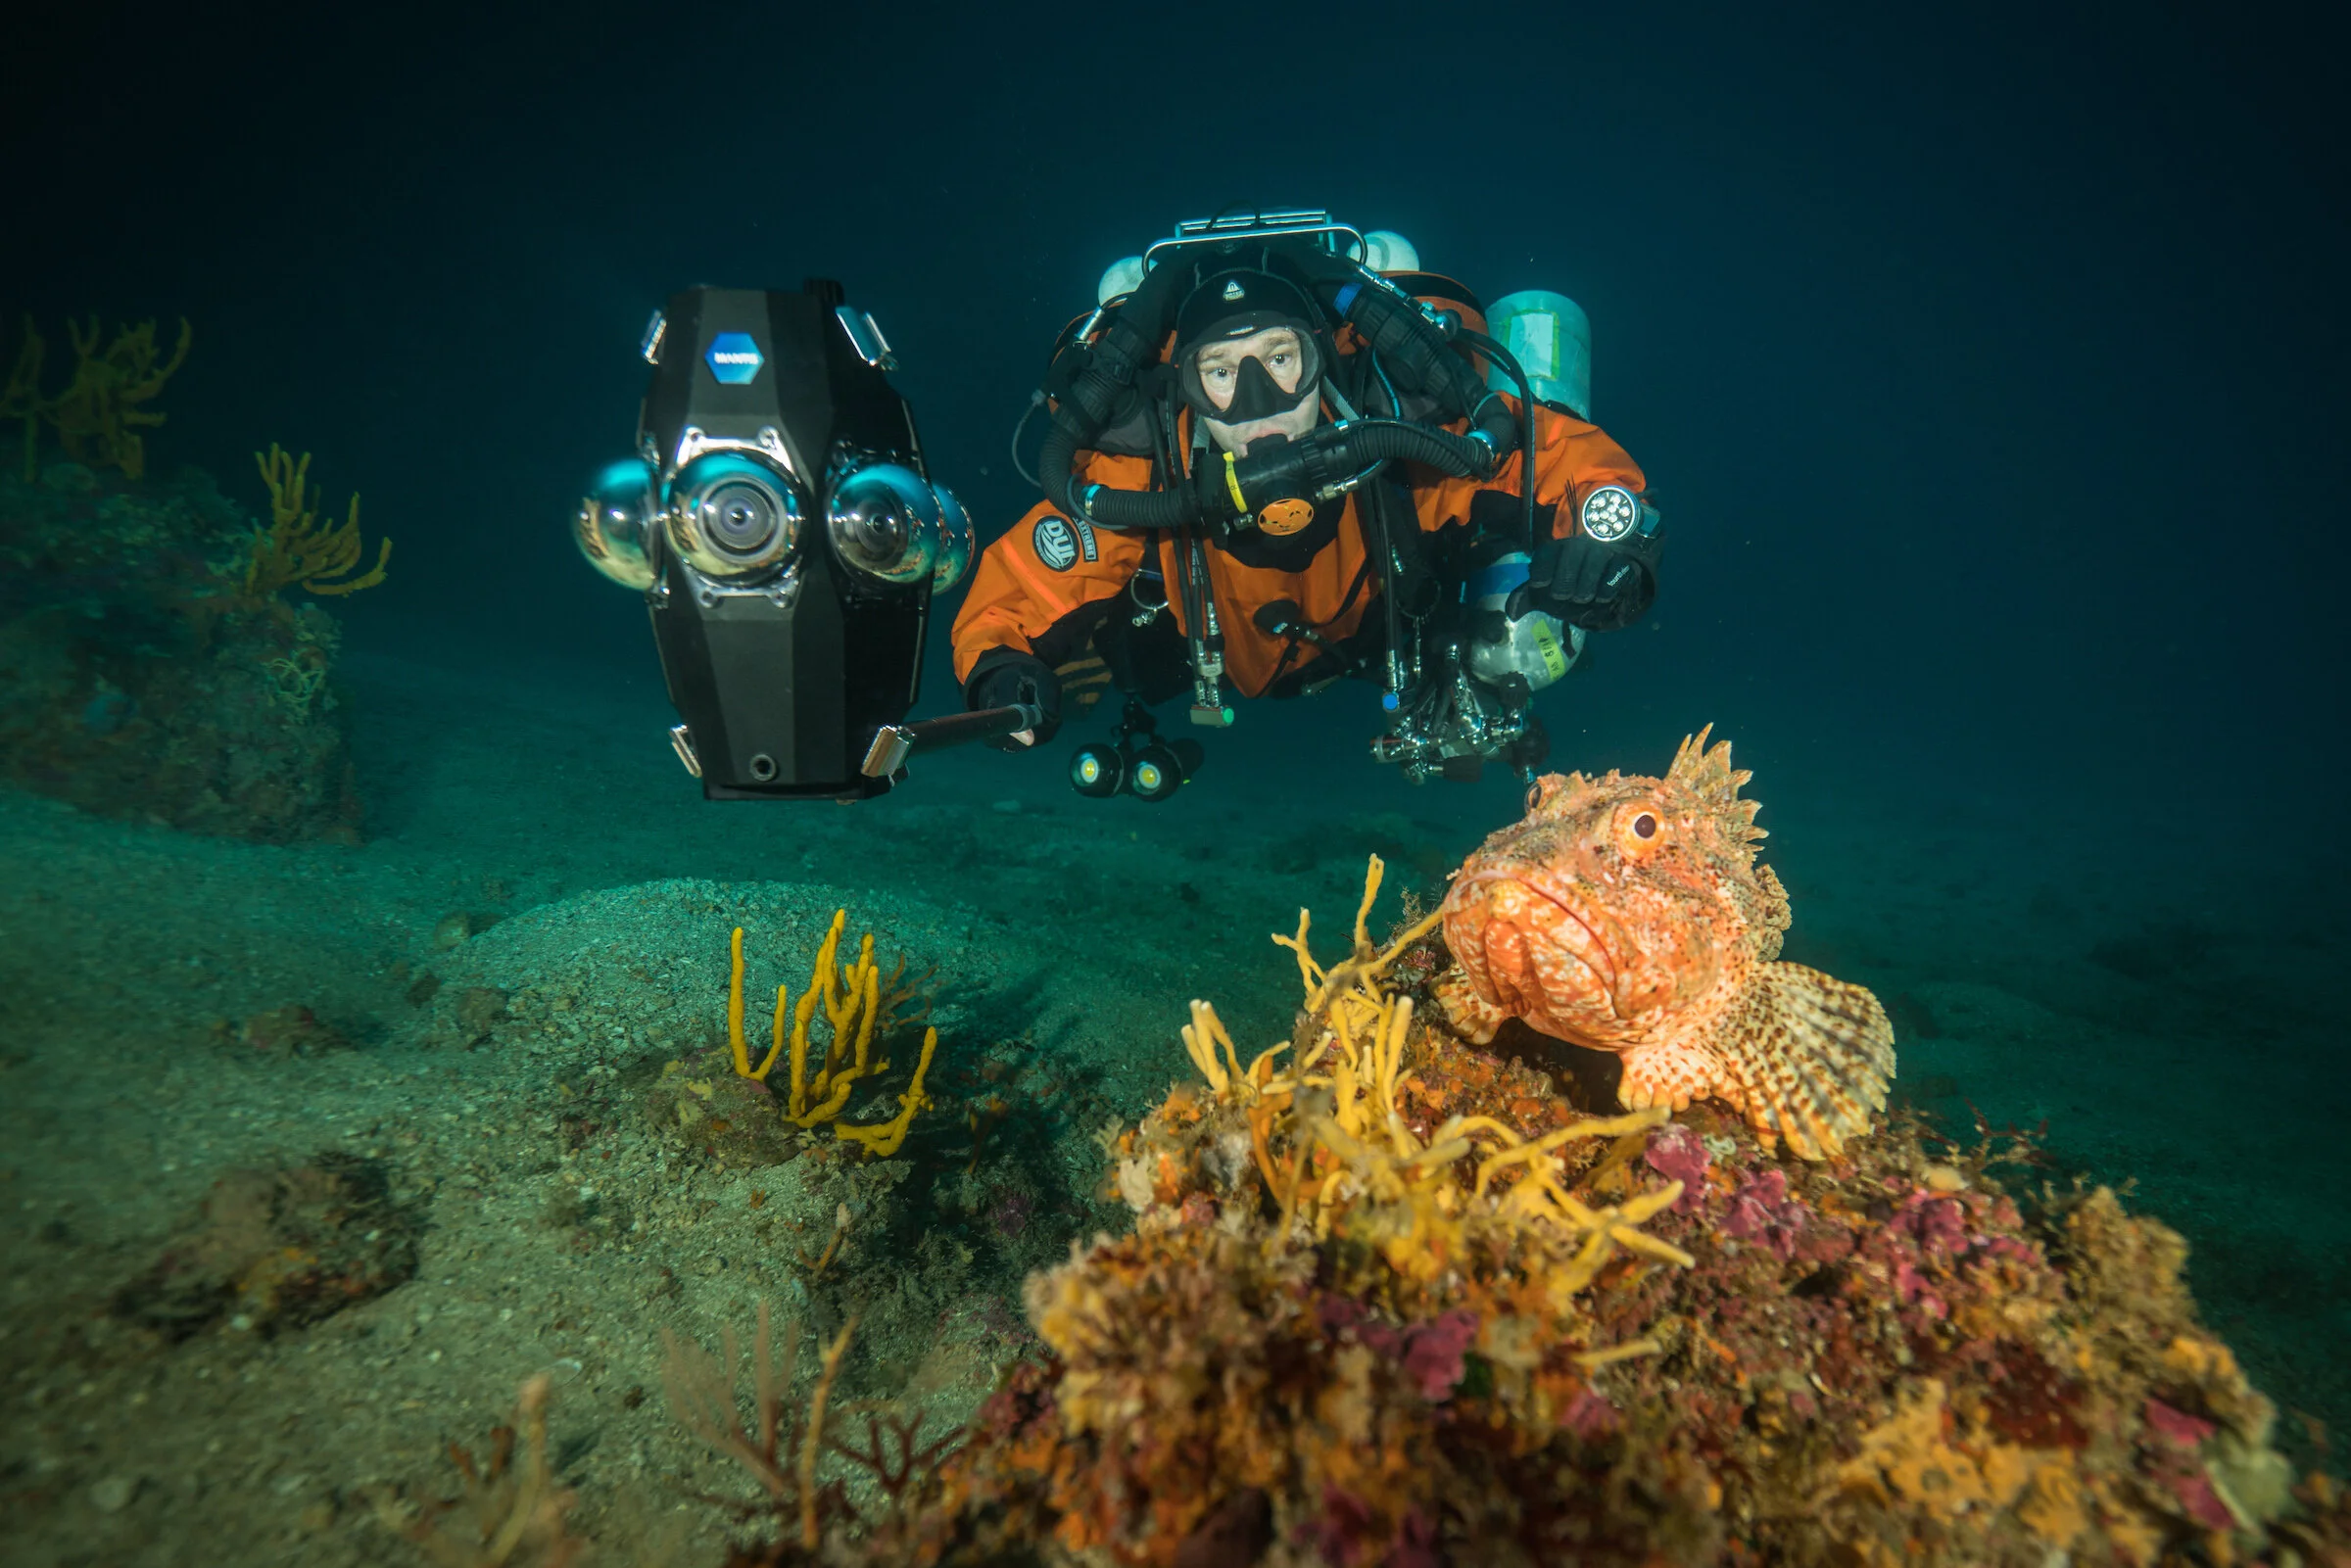
Approach subjects slowly and at their level.
When you approach wildlife rapidly or from above they often mistake you for a predator and swim away. They are less likely to flee when you are approaching them slowly at their level, avoiding any rapid movements. This also gives you the time to observe their behavior and movement pattern, and choose the best place for taking the shot.
Top mistakes to avoid.
Those are our tips for capturing gorgeous underwater 360/VR videos and photos that look fantastic and are a joy to watch on social media channels as well as in VR goggles. Let’s turn that around and list some things that you should avoid at all costs.
Avoid these 8 common mistakes when shooting underwater 360/VR.
Shooting with automatic white balance.
Shooting with high ISO value.
Fast movement and turns.
Swimming with the Flutter Kick while recording.
Camera too far away from the subject.
Using spot lights or lights too close to the camera.
Capturing a distracting background.
Disturbing your subjects and kicking up silt.
Diving without a vacuum valve on the housing.
More from the Mantis Sub Academy.
With the Mantis Sub Academy we want to provide a set of free resources to help you getting started with creating 360/VR content. Here are some more articles: